Sunday, July 3, 2011

Have a happy and safe 4th with friends and family!
M.

Thursday, June 30, 2011

Personal monthly challenge....Here's July!

I'm always creating for someone else.  They tell me what they want and what colors to use, and I get to work.  I love what I do, but I sometimes feel like I want to create just for the sake of art...and for me.

I've decided that I'm going to challenge myself by doing a monthly tag.  Small enough not to take up too much time, but it will give me the opportunity to get elbow deep into techniques that I don't often get to use.  Each tag will represent what the month means to me.

I browsed around for some inspiration, and I certainly wasn't disappointed.
Hoosier Handmade:  Patriotic Mantel Decor
These ladies are incredibly talented! 

When I think of July I envision the ocean, patriotic colors, BBQs, and warm summer nights. 
Here's my July!

Instructions:
1.  I used a standard manila shipping tag, but you could cut one out of card stock.
2.  Paint it with a wash paint.  I used Angel Blue.  I love how it just tints the tag.
3.  Add some glue in random lines along the left side and place a vintage dictionary page over the glue.  Let dry.  Once it's dry, you can carefully peal off the page; leaving remains where the glue adhered it.
4.  Apply white acrylic paint with bubble wrap to both the bottom right and top left hand corners.  Stamp several star shapes with the acrylic paint as well.  I used an old wooden stamp.  Let dry (if you're impatient like me, you can use your heat gun to set the paint).
5.  With black ink, stamp "Post Card" along the right hand side - vertically- and along the top left -horizontally.
6. Distress the edges of the tag and along the raised areas with distressing ink. I used Tim Holtz-Tea Dye. My fav!
7.  Cut two small stars out of paper and one large star out of cardboard.  Distress the small stars with ink.  Cover the large star in glue and then paint over it with white acrylic paint.  Let dry; it will give the appearance of being made of wood.
8.  Adhere stars to tag.
9.  String 20g. black wire with a few select beads and attach to the left side of tag through small holes.
10.  Using blue Cream City Ribbon, tear into shreds and curl (by pulling it through the scissors and your finger).  Thread through the top of the tag and then attach tea stained crinkle seam binding.
11.  Spell out JULY on a separate piece of paper with alpha stickers.  Cut to size and adhere to tag along the bottom center.
12.  Attach metal bookplate over the JULY.

Voila! 
I'm pretty happy with the outcome, though I think I stayed on the safe side rather than creating outside my comfort zone.  I'll have to work on that for next month.

Thanks for spending some time with me.
M.

Monday, June 27, 2011

Gift cards...I've got your pretty!

Presents are my favorite part of birthdays, Christmas and anniversaries.  That's right.  I said it!  I love presents!  But I love giving them too.  Finding the perfect gift for that someone special and seeing that spark of happiness in their eyes as they open it is a serious close second to opening a gift for myself. 

Meticulously wrapped in pretty paper with ribbon and a huge bow.  The beautiful presentation has given way to high hopes and great expectations.  It's torn open in anticipation of the surprise inside.  Are they going to love it?  Is it the right size and color?  Will it eventually be re gifted? 


Let go of all that unnecessary stress and go with a gift card next time.  That's right.  I said it!  A gift card is THE perfect gift for anyone...you just can't go wrong. 
Now, I know what you're thinking..."a boring gift card"..."how impersonal"..."where's the thought?"..."where's the presentation?".

Well, looky here:
New Beginnings housewarming gift card holder and handmade envelope.  Measures approximately 4.5" square and will fit any standard size gift card (excuse the Staples card...didn't have more appropriate one like Home Depot).
Perfect for someone moving into a new home or maybe starting college. 
Materials used:  Kraft card stock, K&Co. paper, Prima flowers, vintage button, vintage lace, bakers string, Tim Holtz distress ink, glitter, crackle accents, chipboard house, Making Memories eyelets, and small flower punch.

And what about something for that tween or teen?
Dream gift card holder and handmade envelope...
...ideal for any gal's birthday or a special occasion.
Materials used:  white card stock, Webster's Pages Ladies&Gents paper, tissue paper flowers, vintage buttons, Kaiser adhesive gems, tag, Prima leaves, Tim Holtz distress ink, Making Memories eyelets and bakers string.

A Gift From the Heart gift card holder and handmade envelope can be used for an anniversary or a birthday.
You could even use it on Valentine's Day!
Materials used:  Kraft card stock, Sassafras paper, Crate Paper Restoration Collection paper, eyelets, bakers string, vintage lace, vintage buttons, Melissa Francis rub on sentiment, glitter, chipboard hearts, crinkle seam binding, and Tim Holtz distress ink.

So a gift card doesn't have to be boring or impersonal.  It's all in the presentation, and I've got your pretty!
In fact, Reverie Creations can customize a gift card holder and handmade envelope just for your special occasion.

Isn't it wonderful when all the stress is taken out of gift giving?  The presentation is spot on and the final result is perfection...no re gifting!

Thanks for stopping by.  Have a wonderful day!
M.

Wednesday, June 22, 2011

Play-Time

My idea of relaxing and someone else's may not be the same, but I can always count on something creative coming from my play-time.  Whenever I have nothing to do (or rather don't feel like doing anything that resembles responsibility), you'll find me spending time with my girls going to the beach or shopping (we're girls...we LOVE to shop!). But, on the rare occasion that they're not around you can find me in my studio.

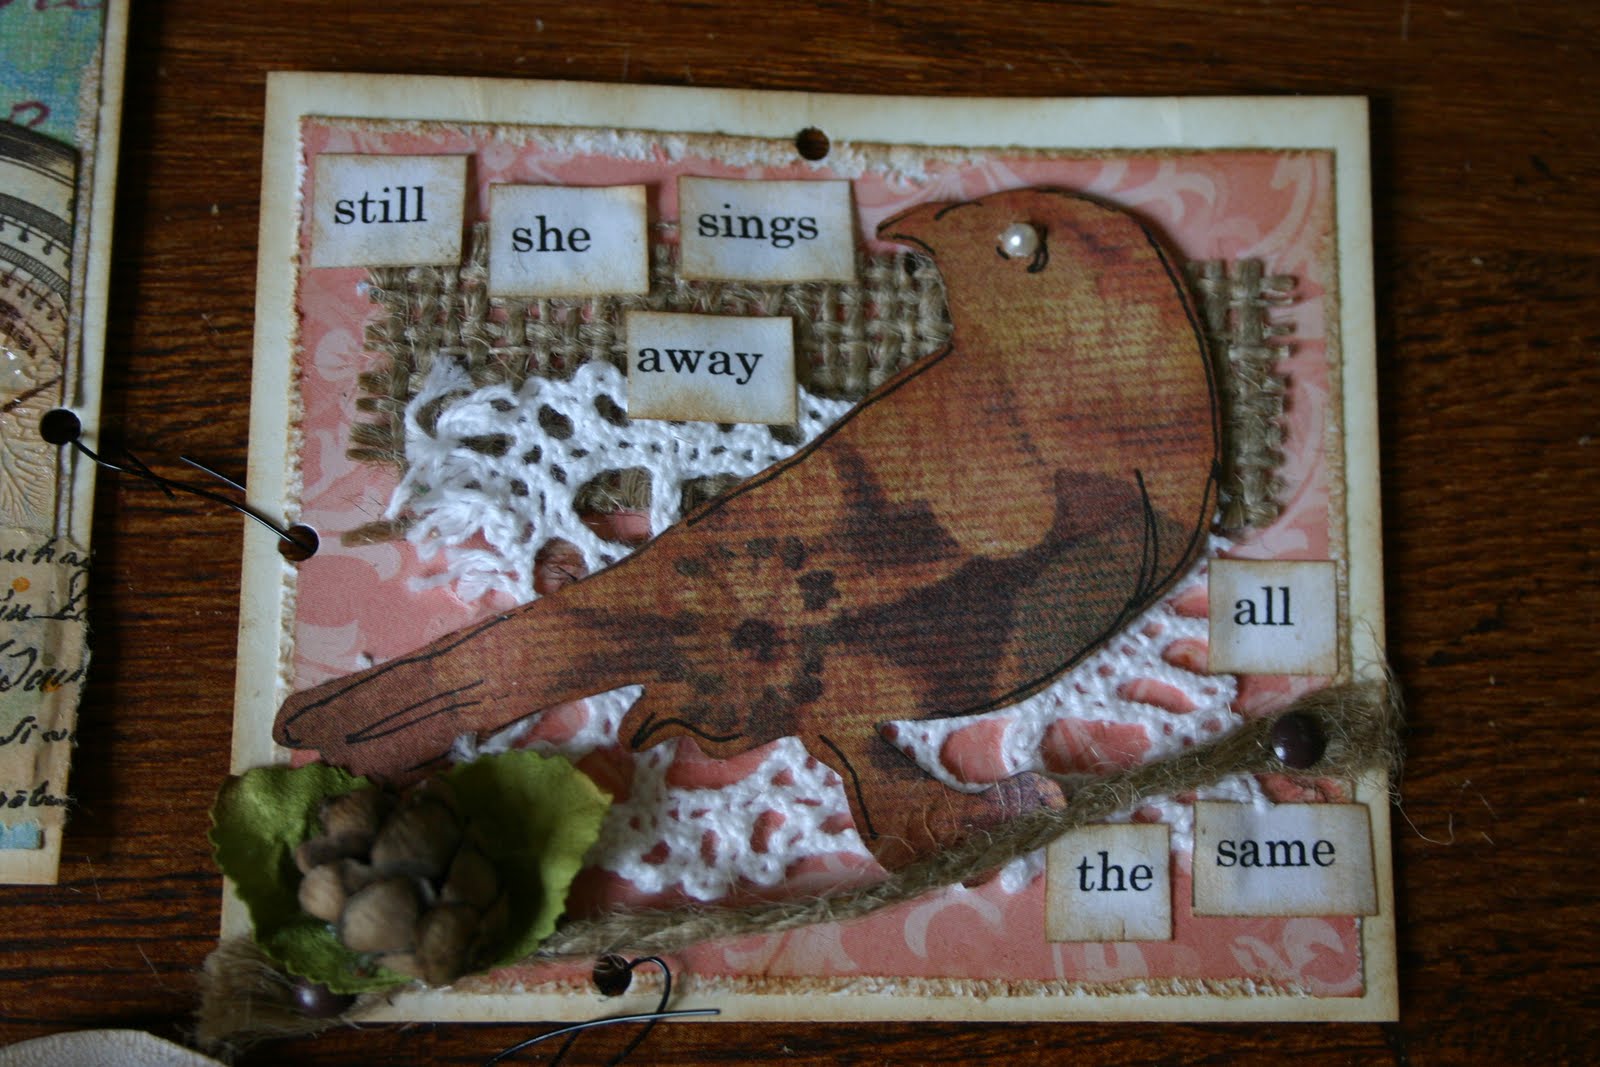
It just so happens that one of those opportunities presented itself just the other day.  The girls had a pajama party with their Ammy, and I spent a few wonderful relaxing hours listening to music and creating an ATC inspired wall hanging based on a couple of quotes that I find inspiring (I took creative liberty stringing these quotes together).

"She had dreams that time forgot.  Still she sings away all the same knowing she has wings.  Remembering there are moments when the soul is on it's knees." 

Each section is roughly 3"x3.75" card stock.  Leftover pieces from a previous project.  What I love about this is the fact that I used only my scraps stash.  I've been turning to those bins and baskets as much as possible lately because they're taking over!

I strung each card together using 20g. black wire, and I intend to hang it from a black metal rod once I find one that is just the right size.
It will look perfect hanging here in my studio providing inspiration every time I look at it.

Thank you for taking some time to visit.
M.